There are loads of different things to consider when setting up a paid Facebook ad. Are you aiming your ad at the right people? Is your image a suitable size? Are you sure you’re running the correct type of ad? It’s easy to get confused by it all.
With more than 2.6 billion people using Facebook – or Meta – every day, this is an opportunity you can’t pass up on. So, how do you create a good advertising campaign on Facebook, anyway? Let’s find out:
Make your campaign
Of course, the first step in creating your Facebook advertising campaign is to set up your account.
Set up your Facebook Business Page and log into the Facebook Ads Manager. You won’t be able to run ads through a personal profile.
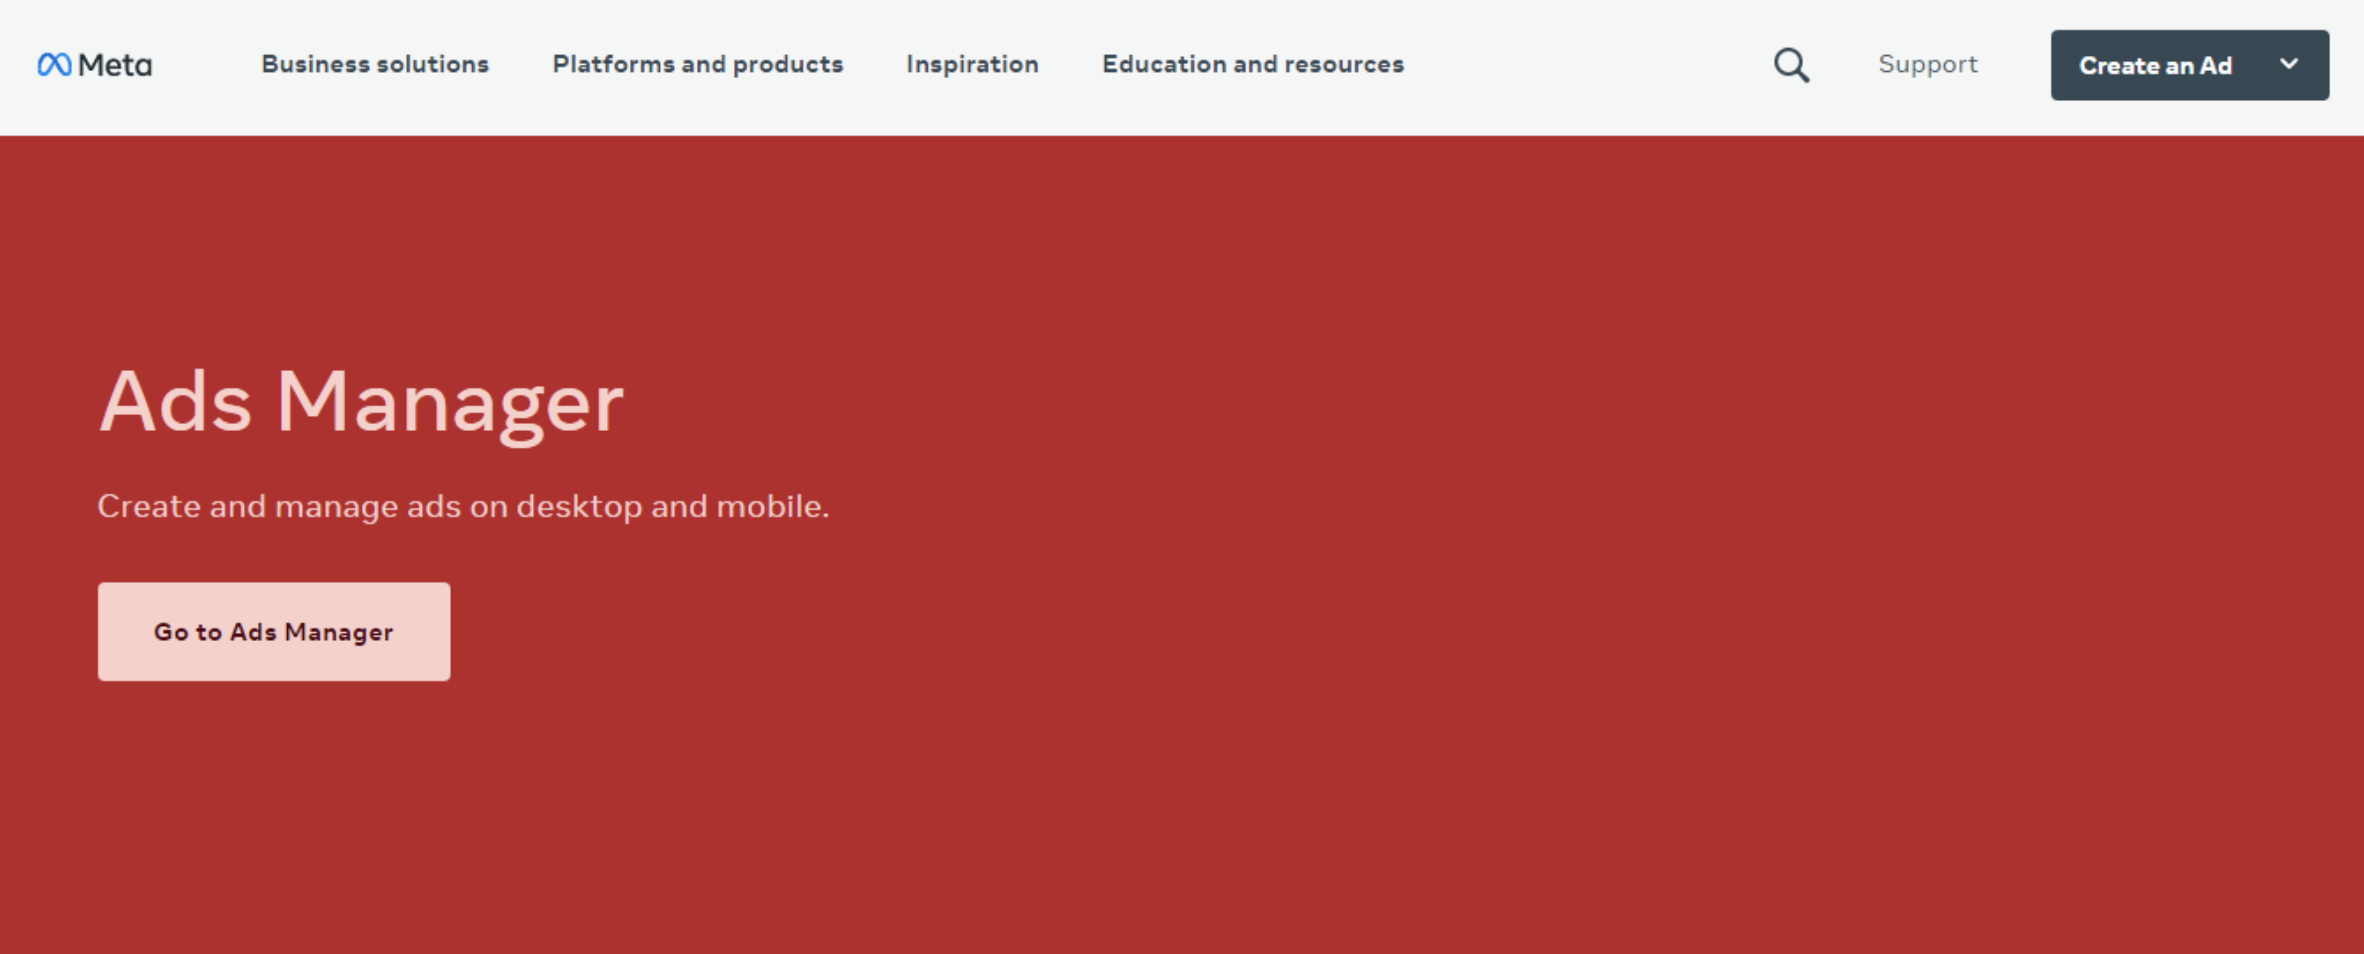
When you’ve done this, head to the Ads Manager page and click on the “Go to Ads Manager” button. After confirming your information and setting up a payment method, save the changes. You now have an active Meta/Facebook ads account!
Start making your ad
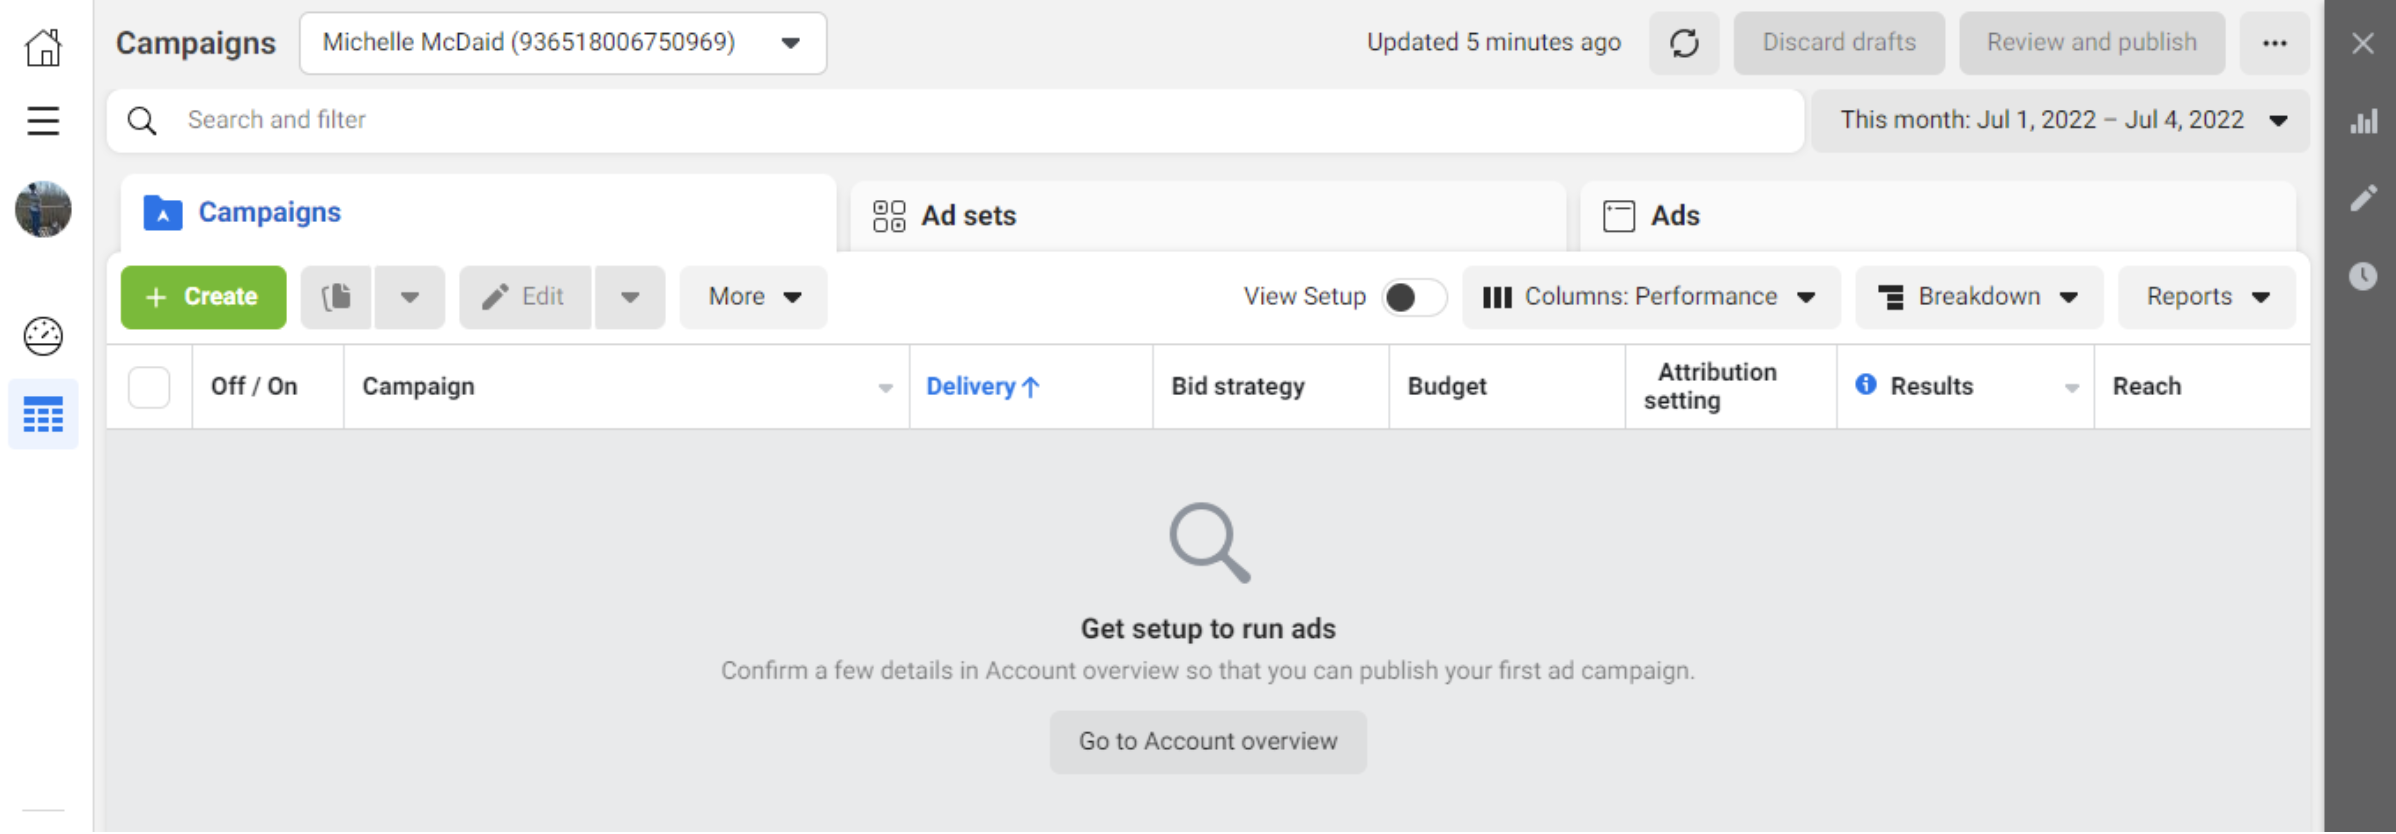
When you log in to the Ads Manager, you will see a performance dashboard. This dashboard will show all your campaigns, ads and ad sets and the results they have produced for your Facebook page.
When you first view your dashboard, there won’t be much to see. So, to get things running, it’s time to create a new campaign. First, use the tabs to select what you want. Then click that green “Create” button.
Choose your objective
The Meta Ads Manager is so particular that it will now guide you through selecting a specific campaign objective.
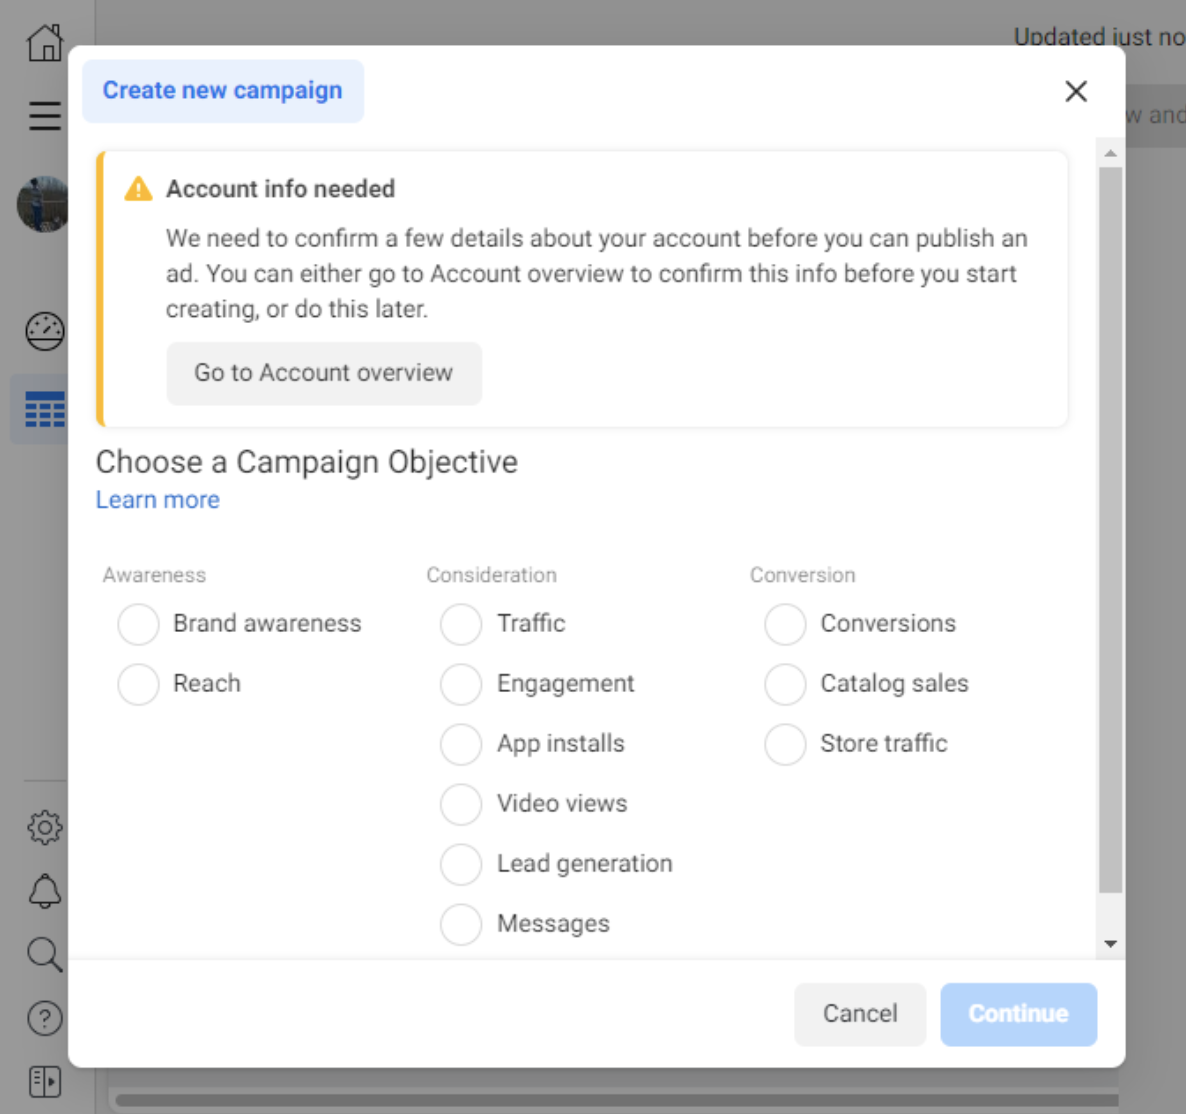
From under three headings, you will be asked to pick11 options. For example, do you want to build brand awareness, get more customer engagement, or increase sales? Ads Manager has tools for all of these goals. Your chosen option will give Facebook a better idea of what you want.
Let’s see what happens when we say we want to boost engagement, for example. The Facebook Ads Manager then asks what type of engagement you seek – comments and shares likes and reactions or event responses. It also then asks if you’d like to name your campaign.
When you make your choice, Facebook will display the advertising options that make the most sense.
Pick your target audience
It’s now time to set up your target audience. Again, you can configure this for each ad set that belongs to the same campaign. Anyone just beginning to advertise on Facebook will probably find themselves experimenting with various targeting options until they find something that suits their campaign perfectly.
Meta knows this, so they’ve produced the audience definition gauge tool. The audience definition gauge uses your selected properties to calculate a potential reach number.
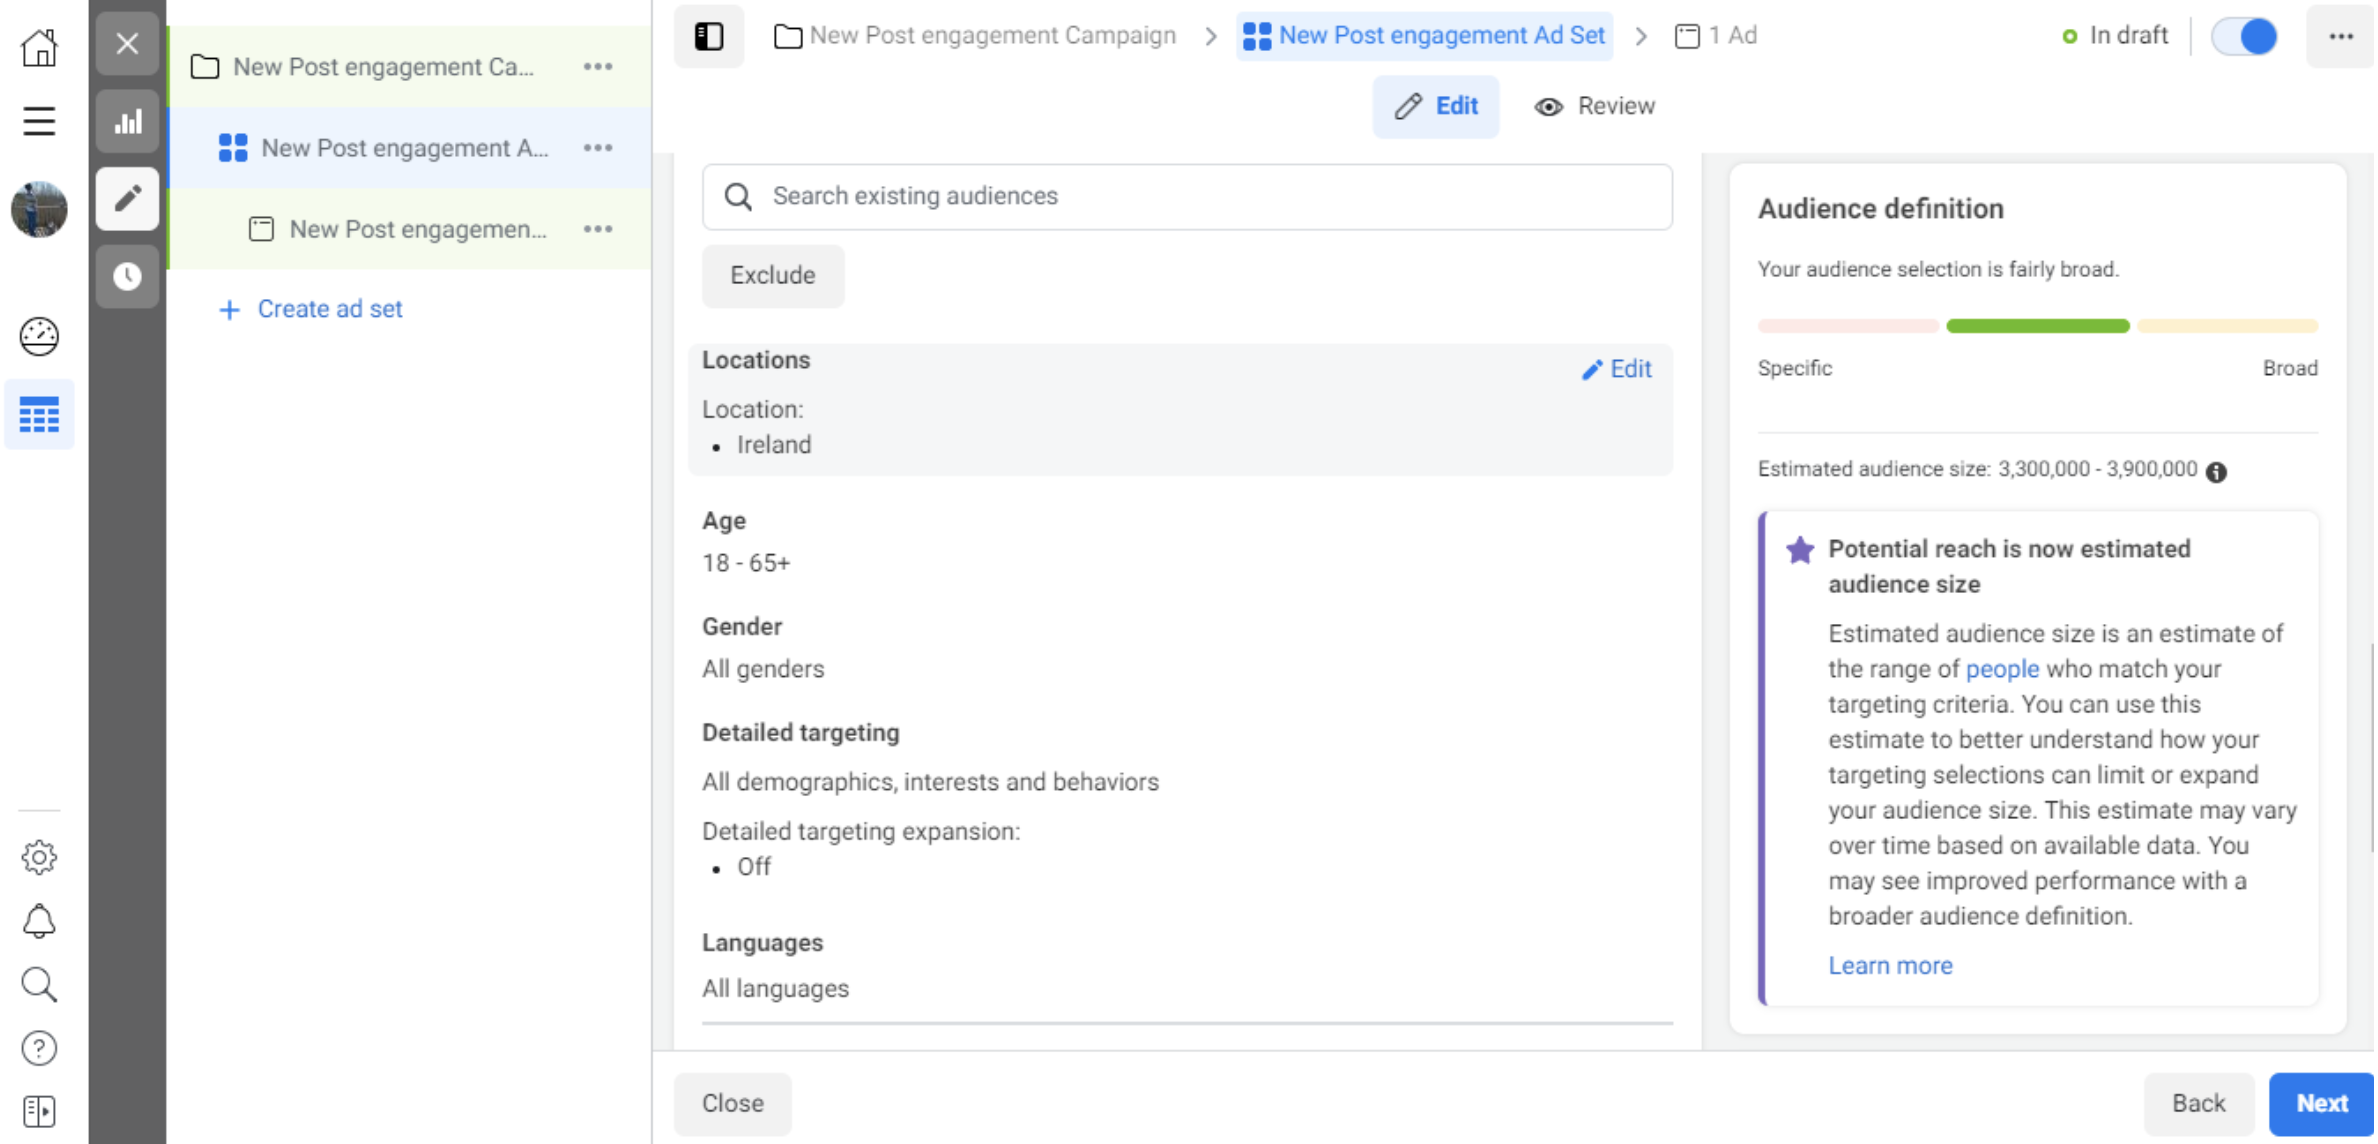
You can target traits such as location, age, gender, language, relationship, education, work, and financial options, among many others. However, Meta also allows you to select a Custom Audience. A Custom Audience lets you target Meta users who show up in your company’s contact database, have visited a page on your website with a tracking pixel, or have used your game or app. Here’s what Meta has to say on the subject.
When you feel you’ve finally cracked your audience parameters, you can save this audience configuration to use again later. Handy!
Create your budget
Meta gives you two budget options: a daily budget and a lifetime budget.
The lifetime budget is suited to ads that will run for a specific time. Meta will pace your spend over your ad’s chosen period.
Then there’s the daily budget option. This option is great for ads that will run continuously throughout the day. Meta will pace your spending throughout the day if you choose the daily budget. The minimum daily budget for an ad set is $1 and must be 2x your CPC.
To get more specific with your budgeting, go to the bottom of the budget window. There, you’ll find the Advanced Options.
Optimisation & Pricing
Here, you can choose whether or not you want to bid for your clicks, objective, or impressions. This alters how your ad is displayed and paid for. When you do this, you are paying for your ad to be shown to people who are more likely to complete your desired action. Meta will control what your maximum bid is, however.
Choose manual bidding if you don’t want Meta to do this. With manual bidding, you control how much you pay per action completed. However, meta will still suggest a bid based on other advertisers’ behaviour, so you can know what you should go for.
Schedule
Here, you can choose to customise your campaign’s start and end dates or whether you want your campaign to run immediately and continuously. You can set parameters so that your ads only run during specific days and hours of the week.
Make your ad
It’s finally time to start making your ad! How will it look? What type will you choose? The options available depend on the option you selected initially.
If you went for “boost your posts”, Meta would show you ad options like Page Post Engagement: Photo ad. This ad option has a range of unique features. You can also boost an existing Facebook post.
Or what if you wanted to increase the number of clicks to your website? In this case, Meta might recommend the Clicks to Website ad.
There are two formats for this ad option: Links and Carousels. The link shows a single image ad, whereas Carousel features three to five scrolling images at no higher cost. Link is that simple “shop now” ad, whereas Carousel is one of those Wish ads that suck you into scrolling to the following picture.
If you go for one of these two, you’ll need to ensure that your images and text conform to Meta’s stringent specifications. For example, for a single image ad, you’ll need text under 125 characters, an ad headline under 25 characters, an image ratio of 1.91:1, and an image resolution of 1080 x 1080 pixels. Alternatively, a multi-image, Carousel ad should be 1080 x 1080 pixels, with a 1:1 ratio, 125 characters of text, a 40-character headline and a 20-character link description.